
Building a Quest: The Map Editor
Every quest is built in the quest map editor. This is where you pick a background, place objectives, connect them with paths, and decide when students get to see the quest.
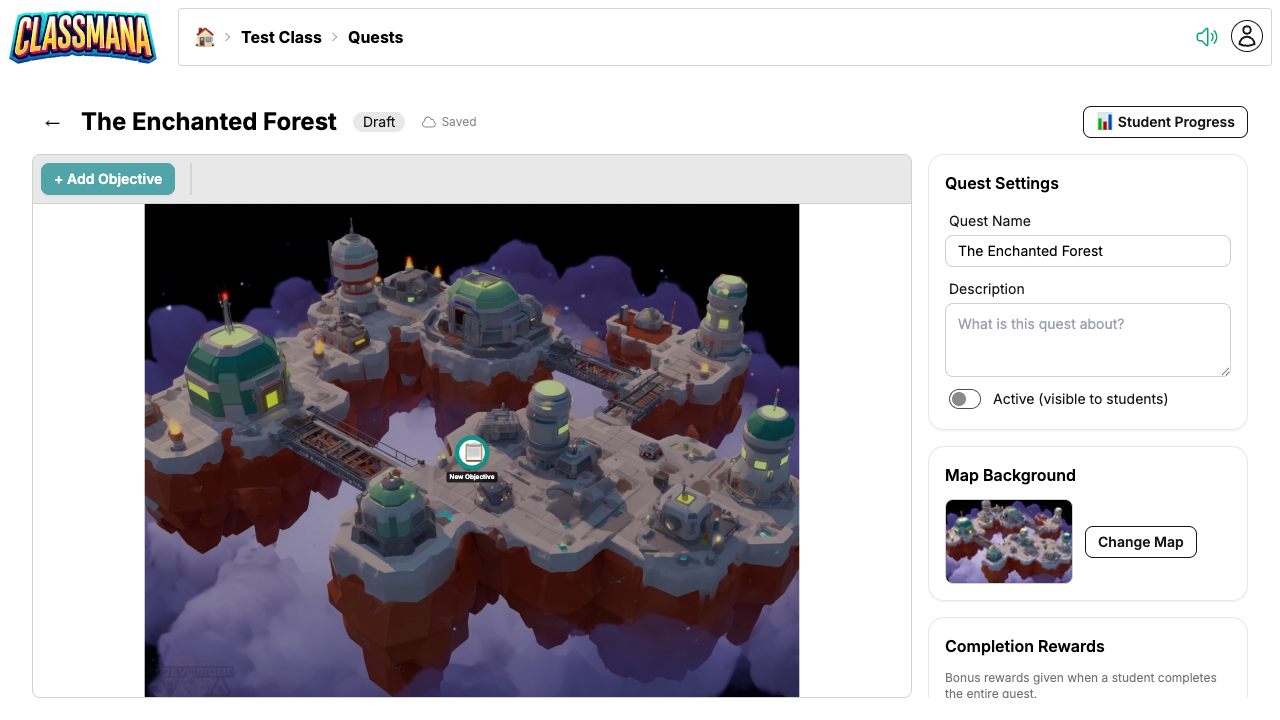
Creating a Quest
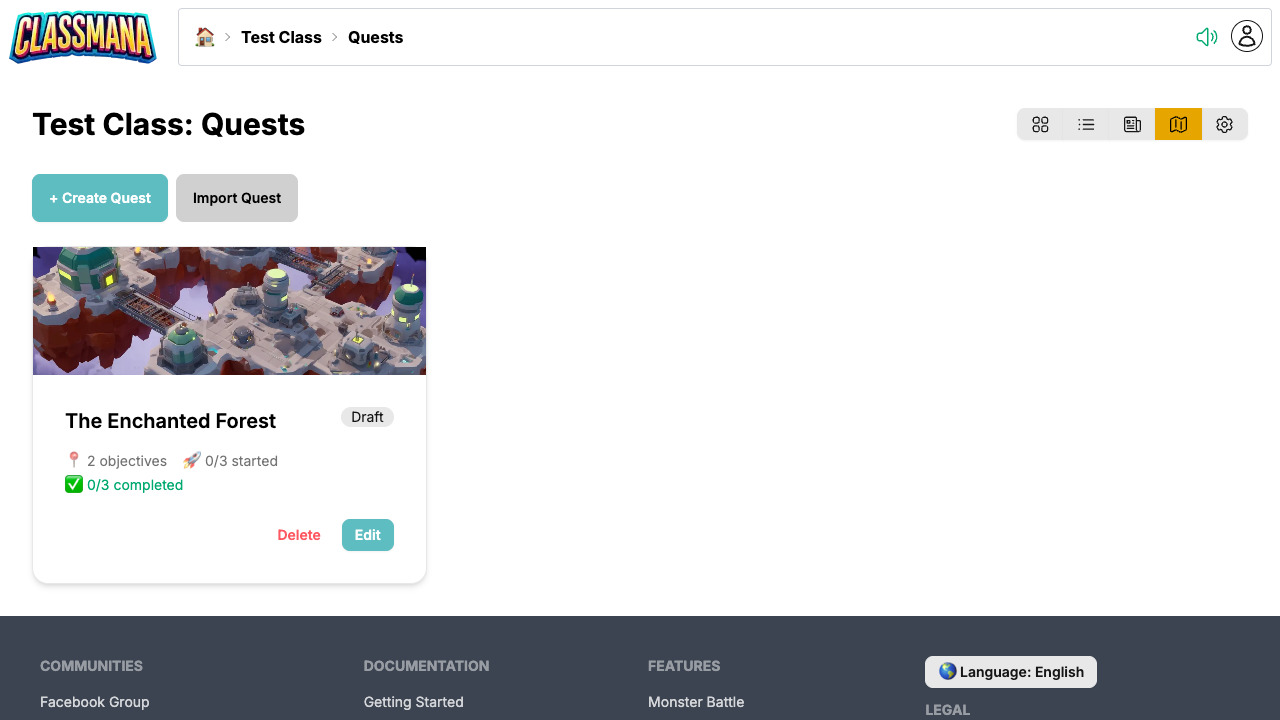
- From the class dashboard, click "Quests" in the toolbar
- Click "Create Quest"
- Enter a name for your quest
- You'll be taken straight to the quest map editor
Choosing a Map Background
The editor opens with a random canvas. Pick a background theme to set the mood for your quest:
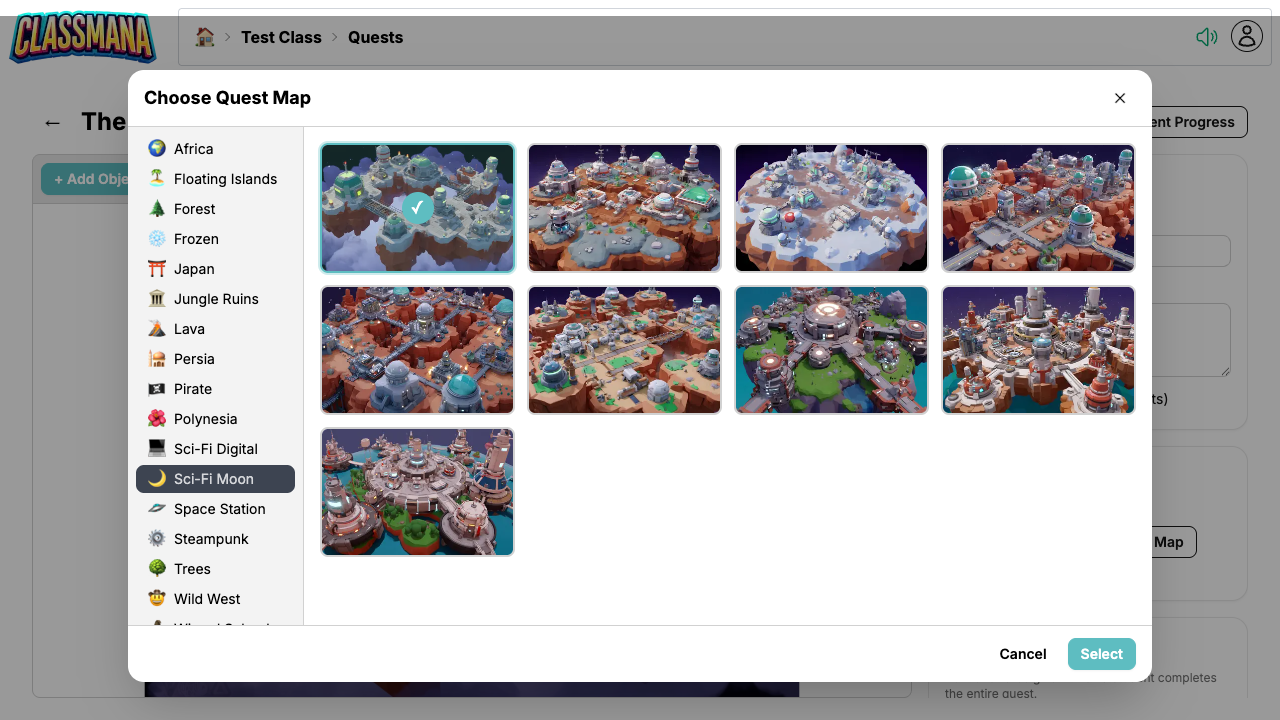
- Click the Map Background in the editor toolbar
- Browse through 20+ themed categories — from Pirate and Wizard School to Sci-Fi and Wild West
- Click a map to select it
You can change the background at any time, also after students have started the quest.
Map Categories
There are over 200 unique map backgrounds organized by theme: Africa, Floating Islands, Forest, Frozen, Japan, Jungle Ruins, Lava, Persia, Pirate, Polynesia, Sci-Fi, Space Station, Steampunk, Wild West, Wizard School, Wonderland, and more. Pick one that fits the narrative of your lesson or unit.
Adding Objectives
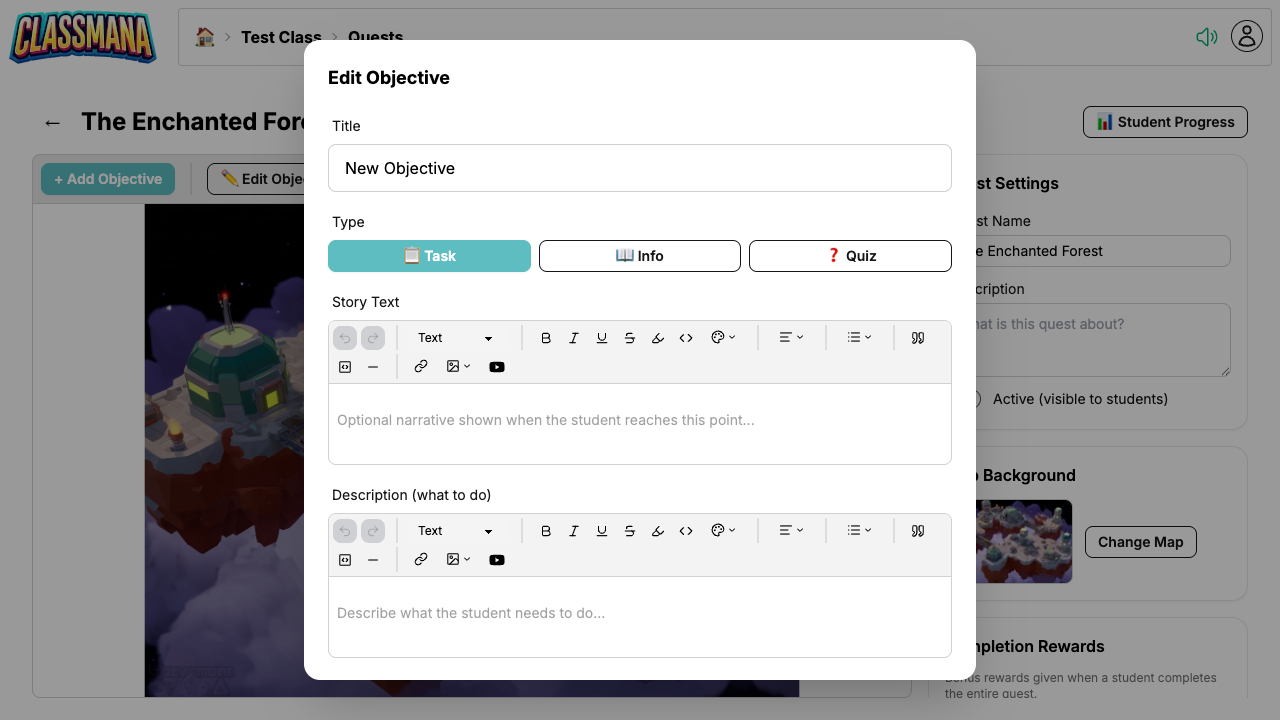
Click + Add Objective to place a node on the map. Each objective is one step students interact with. There are three types:
- Task — A regular assignment. Students either self-report completion or submit it for your approval.
- Info — A narrative-only node for story context, instructions, or background information. Automatically completed when the student reads it.
- Quiz — An auto-graded objective with questions.
For each objective, configure:
- Title — What students see on the map
- Type — Task, Info, or Quiz
- Story Text — Narrative text shown when the student reaches this objective, to set the scene or advance the story
- Description — Detailed instructions for what students need to do
- Rewards — Experience, Gold, Mana, or Health awarded on completion
Both Story Text and Description use a rich text editor that supports formatting, images, links, and embedded YouTube videos.
Connecting Objectives with Paths
New objectives are automatically connected to the current end nodes of the map, so you can build a linear quest simply by adding objectives one after another.
To manually connect two objectives:
- Click the starting objective to select it
- Click the "Connect" button
- Click the destination objective
The path appears as a directed arrow on the map. Students can only access an objective once all its prerequisites (incoming paths) are completed. This lets you create:
- Linear sequences — One objective after another
- Branching paths — Students choose which path to take
- Convergence points — Multiple paths leading to a single objective
Flexible Progression
Branching paths give students autonomy — they can choose their own learning path. Use convergence points to bring everyone back together before a final boss or assessment.
Editor Controls
- Click an objective to select it and open its settings in a dialog
- Drag objectives to reposition them on the map
- Delete to remove selected objectives or paths
Auto-Save
The editor auto-saves your changes continuously. You don't need to manually save — just close the editor when you're done.
Quest Settings
The sidebar holds the settings that apply to the whole quest:
- Quest name
- Description — Shown to students in their quest list
- Map background — Change the theme anytime
- Active status — Whether students can see the quest
- Completion Rewards — Extra rewards when a student completes all objectives
Activating the Quest
Quests start as not active and are not visible to students. When you're ready:
- Toggle the quest status of Active to enabled
- Students will see the quest in their quest list and can start working on it
You can switch a quest back to not active at any time to hide it from students. Student progress is kept, so reactivating it later picks up where everyone left off.
Activation Is Per Class
If you use the same quest in several classes, each class has its own Active / Draft state. Activating it in one class does not make it visible in the others. See Reusing Quests Across Classes.